
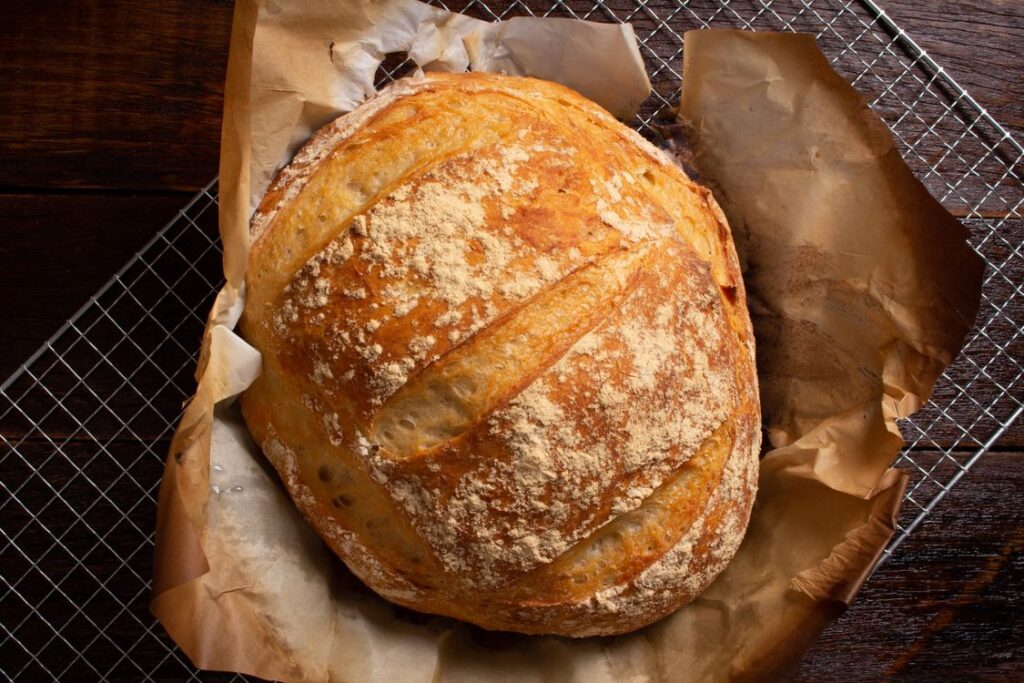
Learning how to stretch pizza dough by hand is mostly about patience: let the dough rest at room temperature for 1 to 2 hours, press it from the center outward into a flat disc while leaving a puffy rim, then drape it over your knuckles and let gravity do the stretching, rotating as you go. Never use a rolling pin, which crushes the air bubbles that make crust light and airy.
Hand-stretched pizza has the characteristic thin center, puffy charred cornicione (rim), and chewy texture that defines Neapolitan and New York styles. The technique looks effortless in pizzerias because it is, once the dough is properly rested and you understand the mechanics. This guide explains how to stretch pizza dough by hand step by step, why dough shrinks back, and how to fix tearing.
Why Hand Stretching Beats a Rolling Pin
A rolling pin applies even downward pressure that degasses the dough, squeezing out the carbon dioxide bubbles fermentation created. Those bubbles are the entire architecture of a good crust: they become the open crumb and the puffy, leopard-spotted rim. Rolled pizza bakes up flat, dense, and cracker-like; hand-stretched pizza bakes up airy with chew.
Hand stretching also creates the ideal thickness gradient: thin in the center where toppings sit, thicker at the rim where the crust puffs. A rolling pin makes uniform thickness, which means either a soggy center under toppings or an over-baked rim. Gravity stretching naturally produces the gradient because the dough\’s own weight pulls the center thinner while your knuckles support the edges.
Finally, hand stretching is faster once learned. Professional pizzaiolos shape a dough ball in under 30 seconds. You will not start there, but even beginners reach a comfortable 2-minute stretch within a few attempts.
Dough Prep: The 90 Percent of Success
Stretching technique matters less than dough condition. The dough must be fully proofed and at room temperature. Cold dough straight from the fridge is stiff and tears; it needs 1 to 2 hours on the counter (covered so it does not dry out) until it feels soft, puffy, and relaxed. Under-proofed dough fights you and springs back relentlessly.
Proper fermentation develops both flavor and extensibility. A dough fermented 24 to 72 hours in the refrigerator stretches like a dream and tastes complex; a same-day dough is workable but less cooperative and less flavorful. If your dough constantly shrinks back, it almost always needs more rest, not more force.
Flour your work surface and hands with semolina, \”00\” flour, or a 50/50 mix rather than all-purpose flour, which can taste raw and pasty on the finished crust. Semolina acts like ball bearings, letting the dough glide. Keep the dough ball\’s smooth top side up; that surface becomes the exterior of your pizza.
How to Stretch Pizza Dough by Hand: The 5 Steps
Step 1: Press Into a Disc
Place the rested dough ball on your floured surface. With flat fingers (never fingertips, which poke holes), press gently from the center outward, pushing air toward the edges. Leave a 1-inch untouched rim around the perimeter; this becomes the puffy cornicione. Flip the disc and repeat so both sides are even. You should have a 6 to 8-inch disc with a visibly puffy border.
Step 2: Drape Over Your Knuckles
Pick up the disc and drape it over both fists, knuckles up, letting the center hang. Your knuckles support the dough while gravity pulls the middle downward, stretching it evenly. Keep your hands moving: rotate the dough a quarter turn every few seconds so it stretches symmetrically.
Step 3: Let Gravity Work
Hold the dough vertically and let its own weight do the stretching; do not pull with your hands. Pulling creates thin spots and tears. If one area stretches faster, rotate so the thicker section hangs lowest and gravity evens it out. Within a minute or two, the disc should reach 10 to 12 inches.
Step 4: Lay Down and Adjust
Lay the stretched dough on your floured peel or parchment. Gently press any thick spots outward with flat fingers and nudge the shape into a round, but do not rework it aggressively. Check for thin spots or tiny holes by holding it to the light; patch small holes by pinching the dough together.
Step 5: Top and Launch Quickly
Top sparingly and swiftly: sauce, cheese, and toppings, remembering that less is more on a thin crust. Too much topping makes the center soggy and heavy. Slide onto your steel, stone, or into the oven within a minute or two of topping; a topped pizza left sitting absorbs moisture and sticks to the peel.
Troubleshooting Stretching Problems
| Problem | Cause | Fix |
|---|---|---|
| Dough springs back | Under-rested gluten is tight | Cover and rest 15–20 min, then try again |
| Dough tears | Too thin in spots, or cold/under-proofed | Patch by pinching; ensure full room-temp proof |
| Sticky and unmanageable | Over-proofed or too wet | More semolina; handle gently and quickly |
| Thick rim, paper-thin center | Over-stretched middle | Press air back toward rim before knuckle stretch |
| Sticks to the peel | Sat too long after topping | Top fast, launch fast; shake peel to check slide |
| Tough, dense crust | Rolled or overworked | Hand-stretch only; handle minimally |
The Rest-and-Return Secret
The single most useful trick in dough stretching is the rest-and-return. When dough resists and springs back, stop fighting it. Cover it with a towel or inverted bowl and walk away for 15 to 20 minutes. During the rest, the gluten network relaxes and the dough becomes dramatically more cooperative. Professional bakers use this constantly; amateurs try to power through and tear the dough.
You can rest-and-return multiple times if needed. There is no penalty for patience, only for force. If a dough ball simply will not stretch after two rests, it was likely under-proofed to begin with; give it another hour at room temperature and try again.
Baking Your Hand-Stretched Pizza
Stretching is only half the equation; baking makes or breaks the result. Home ovens max out around 500 to 550°F (260 to 290°C), far below the 900°F of Neapolitan ovens, so compensate with a pizza steel or stone preheated for a full hour. The stored heat crisps the bottom before the toppings overcook. Bake 6 to 8 minutes until the rim is puffed and spotted and the cheese bubbles.
Launch with confidence: a quick forward-and-back jerk of the peel deposits the pizza on the steel. If it sticks, it was under-floured or over-topped; lift an edge and blow a little semolina underneath. Finish with fresh basil, a drizzle of olive oil, and flaky salt after baking, never before, so the herbs do not scorch.
Neapolitan vs. New York Dough: How Formula Affects Stretching
Not all pizza doughs stretch alike, because formula dictates behavior. Neapolitan dough uses \”00\” flour, about 60 to 65 percent hydration, minimal yeast, and a long cold ferment. It stretches thin and extensible with a tender, airy result, but it tears more easily if under-proofed and demands a blazing-hot oven to shine.
New York-style dough uses bread flour, similar hydration, plus oil and sugar. The oil tenderizes and adds extensibility, making NY dough noticeably easier to stretch by hand; the sugar aids browning in cooler home ovens. It is the most forgiving dough for beginners learning the knuckle-stretch technique.
High-hydration artisan doughs (70 percent and above) stretch almost too easily, becoming slack and sticky; handle them minimally and use ample semolina. Stiff low-hydration doughs fight back and need longer rests. Knowing your dough\’s personality tells you whether resistance means \”rest me\” or \”this is just how I am,\” which is the real skill beneath the technique.
Cold Fermentation: The Flavor Upgrade
The biggest leap in homemade pizza quality comes not from stretching technique but from cold fermentation: letting the dough balls rise slowly in the refrigerator for 24 to 72 hours. Cold temperatures slow yeast activity while enzymes keep working, developing complex flavors, better browning, and a more extensible dough that stretches with less resistance.
The method is simple. After kneading, divide the dough into balls, coat lightly with olive oil, and refrigerate in covered containers. The dough is usable after 24 hours and peaks around 48 to 72 hours; beyond 4 days it over-proofs and becomes slack. On baking day, bring the balls to room temperature for 1 to 2 hours before stretching.
Cold-fermented dough also fits real life: make dough on Sunday, bake pizza on Tuesday or Wednesday with zero day-of effort. The flavor difference versus same-day dough is dramatic, deeper, slightly tangy, with beautiful leopard-spotted char. If you adopt one habit from this guide, make it the cold ferment.
Frequently Asked Questions
Why does my pizza dough keep shrinking back?
Shrinking means the gluten is tight, which happens when dough is under-rested, under-proofed, or cold. The fix is always rest, not force: cover the dough and wait 15 to 20 minutes for the gluten to relax, then stretch again. Ensure the dough proofed fully and sat at room temperature 1 to 2 hours before you started.
Can I use a rolling pin for pizza dough?
You can, but the result differs significantly. A rolling pin crushes the gas bubbles that create an airy, puffy crust, producing a flatter, denser, cracker-like base. For Neapolitan or New York-style pizza with a puffy rim and chewy crumb, hand stretching is essential. Rolling is acceptable for thin cracker-style pizzas where density is the goal.
How do you keep pizza dough from tearing?
Ensure the dough is fully proofed and at room temperature, stretch with gravity rather than pulling, and keep the thickness even by rotating as you work. Use flat fingers instead of fingertips when pressing, and patch small holes by pinching the dough together. If tearing persists, the dough needs more rest or a longer proof.
What flour is best for hand-stretching pizza dough?
\”00\” flour is the Neapolitan standard: finely milled with moderate protein for a tender, stretchy dough. Bread flour works well for New York-style with more chew. For dusting during stretching, semolina or a semolina-flour mix prevents sticking better than all-purpose flour and adds pleasant texture to the finished crust.
How thin should I stretch pizza dough?
Stretch to about 10 to 12 inches for a standard 250-gram dough ball, with the center thin enough to see light through faintly but not transparent. The rim should stay puffy at about 1 inch thick. Too thin and the center tears or turns soggy under toppings; too thick and it bakes up bready rather than crisp-chewy.
Should pizza dough be cold or room temperature for stretching?
Room temperature, always. Cold dough is stiff, tears easily, and springs back aggressively. Let refrigerated dough sit covered at room temperature for 1 to 2 hours until soft and puffy before stretching. This single step solves the majority of stretching difficulties beginners encounter.
How do I transfer stretched dough to the oven without it sticking?
Build the pizza on a well-floured wooden peel or parchment paper, top it quickly, and launch within a minute or two. Shake the peel gently before launching; the pizza should slide freely. If it sticks, lift the edge and toss a little semolina underneath. Speed matters: a topped pizza left sitting absorbs moisture and glues itself down.
Can I stretch pizza dough the day before I bake?
It is better to cold-ferment the dough balls and stretch them fresh on baking day. Pre-stretched dough continues to proof, dries out, and loses the air structure you worked to preserve. If you must prep ahead, stretch, then freeze the rounds separated by parchment; thaw 30 minutes before topping and baking.
What is the best oven temperature for homemade pizza?
As hot as your oven goes, typically 500 to 550°F (260 to 290°C), with a pizza steel or stone preheated for a full hour. Maximum heat crisps the bottom quickly while the rim puffs before toppings overcook. Bake 6 to 8 minutes until spotted and bubbling. Never bake pizza in a cool oven; the result is pale, soft, and disappointing.
