
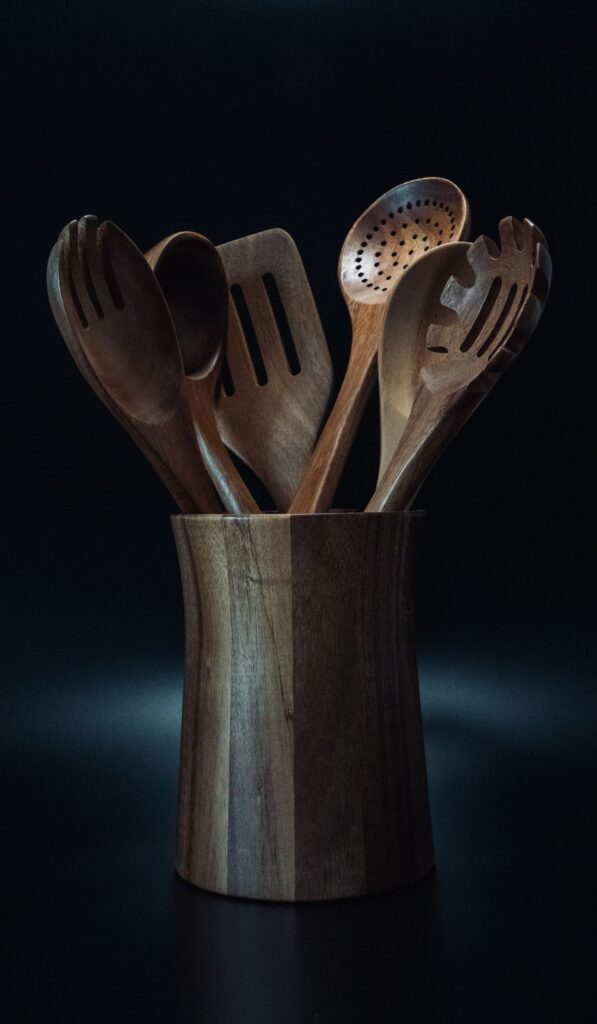
Wooden spoons crack, silicone spatulas hold odors, and stainless steel whisks develop mysterious spots — usually because each material is cleaned the wrong way. Learning how to clean kitchen utensils by material is one of the highest-value kitchen skills: proper care can double or triple a utensil\’s lifespan, keep your food tasting clean, and save real money on replacements. This guide covers the three materials in nearly every kitchen — wood, silicone, and stainless steel — with the right washing method, sanitizing approach, drying routine, and storage for each, plus the mistakes that quietly destroy them.
Why Material-Specific Cleaning Matters
Utensils fail for predictable, material-specific reasons. Wood is porous: it absorbs water, swells, and cracks when it dries unevenly. Silicone is non-porous but lipophilic — it absorbs fats and odors from oils and strong spices. Stainless steel is tough but vulnerable to chloride pitting (from salt and bleach) and mineral spotting. A single cleaning routine cannot serve all three: the dishwasher that sanitizes steel will warp wood, and the bleach that whitens steel will pit it if overused. Match the method to the material and every tool in your drawer lasts years longer.
How to Clean Wooden Utensils
Wooden spoons, spatulas, and cutting boards are workhorses, but water is both their friend and enemy. The goal is clean wood that dries evenly and stays conditioned.
Daily washing
Hand-wash wooden utensils in hot, soapy water immediately after use — never soak them and never put them in the dishwasher. Soaking lets water penetrate deep into the grain; the dishwasher\’s prolonged heat and water jets do the same damage faster, causing warping, cracking, and loosened glue joints. Scrub with a soft sponge or brush, rinse well, and wash promptly: dried-on food forces harder scrubbing that roughens the surface.
Drying
Towel-dry wooden utensils right after washing, then stand them upright in a container or lay them flat with airflow around them — never leave them sitting in a puddle or sealed in a damp drawer. Why it works: wood cracks when one side dries faster than the other, creating uneven shrinkage stress. Even, ventilated drying is the entire secret to crack prevention. If a spoon feels rough after washing, that is raised grain, not damage.
Monthly oiling
Once a month (or whenever wood looks pale and dry), rub in a generous coat of food-grade mineral oil with a soft cloth, let it soak for several hours or overnight, then wipe off the excess. Why it works: mineral oil fills the wood\’s pores, repelling water and preventing the absorption-drying cycles that cause cracking. Use only food-grade mineral oil — cooking oils like olive oil turn rancid in wood and develop sticky, smelly residues. For a deeper treatment, follow oil with a beeswax-based wood conditioner.
Sanitizing wood safely
For raw-meat contact or odors, wipe with a solution of one tablespoon of baking soda per cup of water, or rub the surface with half a lemon and coarse salt, then rinse and dry promptly. Hydrogen peroxide (3%) wiped on and rinsed after a few minutes also sanitizes effectively. Avoid bleach soaks on wood: bleach degrades fibers and leaves residues in the porous grain. Sunlight is a gentle natural sanitizer — a few hours in direct sun freshens boards and spoons.
Removing stains and odors
For turmeric or berry stains, make a paste of baking soda and water, rub with the grain, and let it sit 15 minutes before rinsing. For stubborn smells (garlic, onion), the lemon-and-salt scrub works chemically: salt abrades while citric acid neutralizes odor compounds. Light sanding with 220-grit sandpaper, always with the grain, removes raised grain and surface stains, revealing fresh wood underneath — follow with oiling.
How to Clean Silicone Utensils
Silicone spatulas, baking mats, and muffin cups are nearly indestructible — but they develop a greasy film and absorb odors that make them feel perpetually dirty.
Daily washing
Silicone is dishwasher-safe (top rack is gentlest), which is its great advantage over wood. For hand washing, hot soapy water and a non-abrasive sponge handle daily soil. The key mistake is under-washing: silicone\’s slightly tacky surface holds onto thin oil films that build up over time into the sticky residue people complain about. Wash promptly and thoroughly, and the buildup never starts.
Removing the greasy film and odors
For sticky buildup, bake silicone items at 200°C (400°F) for 10–15 minutes — heat drives absorbed oils to the surface — then wash immediately in hot soapy water while still warm. Why it works: silicone withstands high heat easily, and warming liquefies the trapped fats so detergent can actually remove them. For odors, soak in a solution of hot water and baking soda (2 tablespoons per liter) for an hour, or wipe with white vinegar. Both neutralize the volatile compounds silicone absorbs from garlic, curry, and tomato.
Deep-cleaning and whitening
For discolored silicone (turmeric stains, tomato tint), make a paste of baking soda and hydrogen peroxide, coat the item, and let it sit in sunlight for a few hours before washing. The combination of mild abrasion, oxidation, and UV light lifts most stains without damaging the silicone. Avoid abrasive scouring pads and harsh chemical cleaners — they roughen the surface, which then grabs more oil and stains faster.
Drying and storage
Silicone dries fast; just stand items upright or hang them. Store baking mats flat or rolled loosely — sharp folds held for months can take a semi-permanent set. Keep silicone away from direct contact with sharp knives in drawers; while tough, it can be cut, and a sliced spatula edge is done for.
How to Clean Stainless Steel Utensils
Whisks, ladles, tongs, and slotted spoons in stainless steel are the lowest-maintenance utensils you own — with two enemies: chloride and neglect.
Daily washing
Hot soapy water and a soft sponge handle nearly everything; stainless steel is dishwasher-safe without the caveats wood carries. Wash promptly after salty or acidic foods — prolonged contact with salt water or tomato sauce can initiate the pitting corrosion that appears as tiny dark spots. Rinse thoroughly; dried detergent leaves the filmy residue people mistake for water spots.
Removing spots, rainbows, and discoloration
White spots are mineral deposits: wipe with white vinegar, which dissolves calcium carbonate on contact. Rainbow \”heat tint\” discoloration comes from overheating; a paste of baking soda and water, rubbed gently, usually removes it. For stubborn grime in whisk loops, soak in hot water with a dishwasher tablet for 20 minutes — the enzymes dissolve proteins stuck in the wires. Finish with a microfiber buff for the showroom shine.
What never to use on stainless steel
Skip chlorine bleach soaks (chloride ions pit stainless steel, creating microscopic craters that trap food and harbor bacteria), steel wool (it scratches the passive chromium-oxide layer and can embed iron particles that rust), and prolonged salt-water soaking. If you must sanitize, use heat — boiling water or the dishwasher\’s sanitize cycle — rather than bleach. For stuck-on food, soak in hot soapy water; patience beats abrasion.
Drying and storage
Towel-dry stainless steel after washing to prevent mineral spots, especially in hard-water areas. Store whisks and tongs where wires will not get crushed — hanging is ideal. A bent whisk still works, but crushed loops trap food and are miserable to clean.
Mistakes That Destroy Utensils: Quick-Reference Table
| Mistake | Wood | Silicone | Stainless Steel |
|---|---|---|---|
| Dishwasher | Warps and cracks — never | Safe, top rack preferred | Safe |
| Soaking for hours | Causes swelling and cracks | Harmless but unnecessary | Risks pitting if salty |
| Bleach | Degrades fibers, leaves residue | Can discolor and degrade | Causes chloride pitting |
| Abrasive scouring pads | Roughens grain permanently | Roughens surface, grabs more grease | Scratches protective layer |
| Cooking oils as conditioner | Turn rancid and sticky — use mineral oil | Not applicable | Not applicable |
| Air-drying in a puddle | Uneven drying causes cracks | Fine | Causes water spots |
Storage That Prevents Damage
How you store utensils matters nearly as much as how you wash them. Keep wooden utensils upright in a ventilated crock — never sealed in a drawer while even slightly damp, which invites mold in the grain. Store silicone flat or hanging; avoid folding baking mats sharply for long periods. Hang stainless steel whisks and tongs, or store them in a drawer with dividers so wires do not get crushed under heavier tools. Whatever the material, everything must be bone-dry before it goes away — trapped moisture is the root cause of most storage damage, from wood mold to steel spotting. A ventilated utensil crock near the stove keeps daily tools accessible and air-circulated.
When to Replace Instead of Repair
Even perfect care has limits. Replace wooden utensils with deep cracks (they harbor bacteria no cleaning reaches), black mold spots that survive sanding, or loose glued joints. Replace silicone that is torn, has a permanently sticky surface even after the oven treatment, or shows chunks missing — degraded silicone is done. Replace stainless steel with deep pitting, broken welds, or bent wires that trap food. As a rule of thumb: well-cared wood lasts 3–5 years of daily use, silicone 5–10 years, and stainless steel decades.
Quick Daily Checklist by Material
Tape this inside a cabinet door until it becomes habit:
- Wood: wash fast in hot soapy water, never soak, towel-dry immediately, air-dry upright with airflow, and oil monthly with food-grade mineral oil.
- Silicone: wash promptly after oily use, dishwasher-safe on the top rack, oven-bake at 200°C (400°F) for 10–15 minutes to release absorbed grease, and use a baking-soda soak for stubborn odors.
- Stainless steel: wash soon after salty or acidic foods, use white vinegar for mineral spots, never bleach-soak, towel-dry to prevent water spots, and hang whisks so the wires keep their shape.
Three materials, three routines, five extra minutes a day — and a utensil drawer where everything lasts years instead of months.
Frequently Asked Questions
Can I put wooden spoons in the dishwasher if I am in a hurry?
It is not worth it. A single dishwasher cycle will not destroy a spoon, but repeated cycles cause the cumulative damage — warping, cracking, raised grain, and faded finish — that shortens its life from years to months. Hand-washing a wooden spoon takes 30 seconds with soapy water. The dishwasher saves you half a minute and costs you the spoon.
Why do my silicone spatulas always feel greasy?
Silicone absorbs thin oil films that regular washing does not fully remove, and the buildup becomes a tacky layer. Fix it with the oven method: bake at 200°C (400°F) for 10–15 minutes to draw oils out, then wash immediately in hot soapy water. Going forward, wash silicone promptly after oily use instead of letting it sit.
What is the white film on my stainless steel utensils?
Almost always mineral deposits from hard water or dried detergent residue, not damage. Wipe with white vinegar to dissolve mineral scale, rinse thoroughly, and towel-dry instead of air-drying. If the film persists after vinegar, it may be detergent buildup — rewash in very hot water with no soap, rinse well, and dry immediately with microfiber.
Is food-grade mineral oil really necessary for wooden utensils?
Yes — and it must be food-grade. Cooking oils like olive, coconut, or vegetable oil oxidize and turn rancid inside wood grain, creating sticky, foul-smelling utensils that no washing fixes. Food-grade mineral oil is tasteless, odorless, never goes rancid, and is the standard conditioner recommended by woodworkers and board makers. One bottle lasts years.
How do I get the garlic smell out of a wooden cutting board?
Rub the board with half a lemon and a handful of coarse salt, working with the grain, then rinse and dry promptly. The salt provides gentle abrasion while citric acid neutralizes the sulfur-based odor compounds. For deep-set smells, follow with a baking soda paste left on for 15 minutes. Finish with mineral oil once fully dry, since cleaning strips conditioning.
Can stained silicone baking mats be restored to look new?
Mostly, yes. The baking soda and hydrogen peroxide paste plus sunlight method lifts turmeric, tomato, and berry staining substantially. Some faint tinting may remain permanently — silicone absorbs pigments at a molecular level — but staining is cosmetic and does not affect performance or safety. If a mat is stained and permanently tacky after the oven treatment, replace it.
