
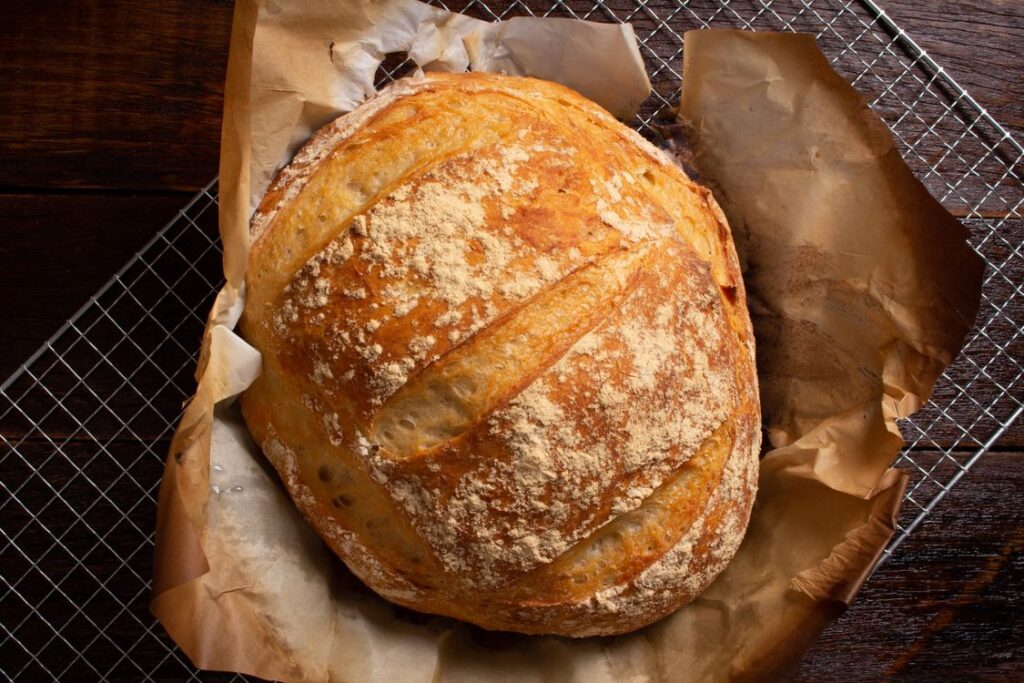
To learn how to make sourdough starter from scratch, mix equal weights of whole grain flour and water in a clean jar, then feed it daily with fresh flour and water, discarding half each time. Within 5 to 7 days at room temperature (70 to 75°F / 21 to 24°C), wild yeast and bacteria colonize the mixture and it will reliably double in size within 4 to 8 hours of feeding, which means it is ready to bake with.
A sourdough starter is a living culture of wild yeast and lactic acid bacteria that leavens bread naturally, replacing commercial yeast. It sounds like alchemy, but it is simply controlled fermentation. This guide covers how to make sourdough starter from scratch with a day-by-day schedule, which flours work best, how to know it is ready, and how to fix the common problems beginners hit.
What a Sourdough Starter Actually Is
A starter is a symbiotic colony. Wild yeasts, primarily Saccharomyces and Kazachstania species naturally present on grain, produce carbon dioxide that leavens bread. Lactic acid bacteria, mainly Lactobacillus species, produce lactic and acetic acids that give sourdough its tang and, importantly, create an acidic environment that protects the culture from spoilage organisms. The two groups feed each other: bacteria produce compounds yeasts use, and yeasts produce compounds bacteria use.
You are not \”catching\” yeast from the air in any meaningful quantity; the microbes come overwhelmingly from the flour itself. This is why whole grain flour, which retains the bran and germ where microbes live, kickstarts a culture faster than white flour. Once established, a starter is remarkably resilient and can live for decades, even centuries, with basic care. Some bakeries maintain starters older than a hundred years.
Flour and Water: Setting Up for Success
Flour choice matters most in the first week. Whole wheat or whole rye flour gives the fastest start because of higher microbe populations and more nutrients. Many bakers use a 50/50 blend of whole wheat and unbleached all-purpose flour for the whole process, or start with whole grain and transition to all-purpose once the culture is active. Avoid bleached flour; the bleaching process can inhibit microbial activity.
Water should be dechlorinated, since chlorine is designed to kill microbes. If your tap water is chlorinated, let it sit uncovered for 24 hours, use a carbon filter, or use bottled spring water. It does not need to be warm; room-temperature water around 70 to 75°F is ideal. Very hot water kills the culture, so never use water above 100°F (38°C).
Use a clean glass jar or container with straight sides so you can see the rise, and mark the starting level with a rubber band. Cover loosely with a lid, cloth, or coffee filter; the culture needs to release CO2 but does not need airflow from outside.
How to Make Sourdough Starter From Scratch: The 7-Day Plan
Day 1: Mix the Initial Culture
Combine 50 grams of whole wheat flour and 50 grams of room-temperature water in your jar. Stir vigorously for a full minute to incorporate air; oxygen helps the initial microbial activity. The mixture should feel like thick pancake batter. Mark the level, cover loosely, and leave at 70 to 75°F for 24 hours. Nothing visible may happen yet, and that is normal.
Day 2: First Feeding
You may see a few small bubbles. Discard half the mixture (about 50 grams), then add 50 grams of flour and 50 grams of water. Stir vigorously, mark, and cover. Discarding seems wasteful, but it keeps the culture at a manageable size and removes waste acids that would otherwise accumulate and inhibit the yeasts you are trying to cultivate.
Day 3: Activity Often Spikes, Then Fades
Many beginners see vigorous bubbling on day 3, followed by alarming quiet on day 4. This is normal. Early activity often comes from bacteria that thrive first but cannot survive the rising acidity; the desirable yeasts and lactobacilli take over afterward. Continue the routine: discard half, feed 50 grams flour and 50 grams water, stir, and wait.
Days 4 and 5: Keep Feeding Steadily
The culture may smell sharp, cheesy, or like nail polish remover during this phase; these are signs of active fermentation chemistry, not failure. If a dark liquid (hooch) collects on top, it means the culture is hungry; stir it back in or pour it off and feed on schedule. Some bakers switch to twice-daily feedings at this stage to accelerate the process, which is helpful in cool kitchens.
Days 6 and 7: Look for Predictable Doubling
By now a healthy starter rises predictably after feeding, domes on top, and smells pleasantly tangy like yogurt. The readiness test: after a feeding at room temperature, the starter should at least double in volume within 4 to 8 hours. When it does this two days in a row, it is ready to leaven bread. If it is sluggish, simply continue daily feedings; some starters need 10 to 14 days, especially in cool homes.
The Float Test and Other Readiness Checks
The popular float test, dropping a spoonful of starter in water to see if it floats, is a rough indicator at best. A starter can be perfectly ready and still sink if it is past its peak or was recently stirred, degassing it. More reliable signs: consistent doubling within 4 to 8 hours of feeding, a domed surface with bubbles throughout, and a pleasant sour aroma. Bake your first loaf when all three are true.
Temperature is the hidden variable behind most slow starters. Below 68°F (20°C), fermentation crawls. If your kitchen is cool, place the jar in the oven with the light on, on top of the refrigerator, or near (not on) a heating vent. A stable 75°F environment can cut days off the process compared to a 65°F kitchen.
Feeding Schedule Quick Reference
| Stage | Discard | Add Flour | Add Water | Frequency |
|---|---|---|---|---|
| Days 1–5 (building) | Half | 50 g whole wheat | 50 g | Once daily |
| Days 6+ (strengthening) | Half | 50 g (blend or AP) | 50 g | Once or twice daily |
| Established, baking weekly | Most | 50–100 g | 50–100 g | Feed before baking |
| Established, baking rarely | — | — | — | Refrigerate; feed weekly |
Maintaining Your Starter Long Term
Once vigorous, a starter needs little care. If you bake weekly, keep it at room temperature and feed it once a day, or feed it a few hours before each bake. If you bake rarely, refrigerate it; cold puts the culture dormant. A refrigerated starter needs feeding only once a week: discard most, feed, let it sit an hour at room temperature, then return it to the fridge.
To revive a neglected refrigerated starter, even one with a thick layer of hooch after months, pour off the liquid, feed it, and repeat twice daily for 2 to 3 days at room temperature. Starters are extraordinarily hard to kill; mold (fuzzy, colored spots) is the only true death sentence, and it is rare in an acidic, regularly fed culture.
Troubleshooting a Sluggish Starter
- No bubbles after 3 days: usually too cool. Move to a warmer spot at 72 to 78°F and be patient; some flours start slowly.
- Bubbly but never doubles: the culture may be too acidic. Switch to twice-daily feedings for a few days to dilute acids, and consider feeding a higher ratio like 1:2:2 (starter:flour:water).
- Smells like acetone: hungry starter. This is harmless; feed it. Persistent acetone smell means it needs more frequent or larger feedings.
- Dark liquid (hooch) on top: also hunger. Stir it in or pour it off and feed on schedule. Frequent hooch means the feeding ratio or frequency is too low for the temperature.
- Pink or orange streaks, or fuzzy mold: the one real failure. Discard and start over with clean equipment; this is uncommon and usually follows long neglect in warmth.
What to Do With Sourdough Discard
Daily discarding produces a steady stream of unfed starter, and throwing it away is a waste. Sourdough discard is flour and water with mild acidity and some fermentation character; it cannot leaven bread on its own, but it adds wonderful tang and texture to recipes leavened by other means. The simplest use is discard pancakes or waffles: the acidity reacts with baking soda for extra lift and a pleasant buttermilk-like tang.
Sourdough crackers are another favorite: mix discard with olive oil, salt, and herbs, roll thin, and bake until crisp. Discard pizza dough gets a head start on flavor, especially with an overnight rest. Banana bread, muffins, and quick breads all welcome a cup of discard for moisture and complexity. Flatbreads and scallion pancakes made with discard fry up blistered and chewy.
Discard keeps in a sealed jar in the refrigerator for up to two weeks, and you can keep adding to the same jar. If a recipe calls for discard and yours is very sour from long storage, that is fine for crackers and pancakes, though milder discard works better in delicate cakes. Treating discard as an ingredient rather than waste makes the whole starter habit feel sustainable.
Frequently Asked Questions
How long does it take to make a sourdough starter from scratch?
Most starters become bake-ready in 7 to 14 days with daily feedings at 70 to 75°F (21 to 24°C). Whole grain flour, warm temperatures, and twice-daily feedings push toward the faster end, while cool kitchens and all-purpose flour push toward the slower end. The starter is ready when it reliably doubles within 4 to 8 hours of feeding.
Do I have to discard half every time I feed my starter?
Discarding keeps the culture manageable and prevents waste acids from accumulating to levels that inhibit yeast. Without discarding, you would need ever-increasing amounts of flour. Save the discard for pancakes, crackers, waffles, and pizza dough; it is perfectly good food with mild tang, just not vigorous enough to leaven bread.
Can I make a sourdough starter with all-purpose flour?
Yes, but it usually takes longer than with whole grain flour. All-purpose flour has fewer native microbes and less nutrition for them. A practical compromise is starting with whole wheat or rye for the first 3 to 4 days, then transitioning to unbleached all-purpose flour for ongoing feedings, which many bakers prefer for a milder flavor.
Why does my starter smell like nail polish remover?
That acetone-like smell comes from hungry yeast producing excess acetic acid and related compounds when food runs out. It is harmless and simply means the starter needs feeding. Stir and feed it, and consider feeding more often or with a larger flour ratio if the smell returns quickly between feedings.
Can I use tap water for my sourdough starter?
It depends on your water. Heavily chlorinated tap water can suppress the microbes you are cultivating. Let chlorinated water sit uncovered for 24 hours so the chlorine dissipates, use a carbon filter, or use bottled spring water. If your tap water is lightly treated, many bakers use it without issues.
How do I store my starter if I stop baking for a while?
Refrigerate it. A mature starter kept in the fridge needs only a weekly feeding and can survive months of neglect. For very long breaks, spread a thin layer of active starter on parchment, let it dry completely, and store the flakes in a jar; dried starter revives within a few days of feeding and lasts indefinitely.
What does a healthy sourdough starter look like at its peak?
At peak, the starter has domed slightly, shows bubbles across the surface and throughout when you tilt the jar, and has roughly doubled in volume. It should smell pleasantly tangy, like yogurt, not sharply chemical. Use it for baking within an hour or two of peak; as it falls past peak, acidity rises and leavening power fades.
Can I make a gluten-free sourdough starter?
Yes, using gluten-free flours like brown rice, buckwheat, or sorghum. The process is the same, though gluten-free starters often behave differently: they may not double as dramatically since there is no gluten network to trap gas, so judge readiness by bubbles, aroma, and a reliable rise-and-fall rhythm rather than height alone.
